Ch. Lindenbeck, R. Pflug & H. Ulmer
This page discusses the techniques of stereoscopic photography.
Examples are focussed on geology at different scales.
Please note our ©
Photo techniques +++ Viewing techniques +++ Photo Gallery +++ Aerial Photographs +++ 3D-Computer Models +++ References
Viewing stereo photographs is nothing more than increasing the baseline of the eye distance due to the
different camera positions. The images must be supplied separately to the brain.
Different techniques are used. Some of them need special devices.
One method is the crossed eye technique. The left image is focussed with the right eye and vice versa.
Images can be viewed parallel too. Therefore the focus has to be set to infinity.
This technique is necessary to view the 'Magic Eye' books.
|
|
|
Simple devices for stereo viewing:
The most cheapest device is a simple slide viewer.
Use two of them (upper left) with a stereo slide pair.
This is the simplest way to establish the necessary photo separation.
A pocket stereoscope equipped with a slide holder (upper middle) is used for
viewing high quality stereo models. The slide pairs are magnified with lenses.
Images at other scales like printed photographs or images displayed on a computer screen
can be viewed with a handheld mirror stereoscope (upper right).
| Click on this symbol to load the 'crossed eye' version | ||
| Click on this symbol to load the 'parallel view' version |
| Location | Thumbnail | Low Resolution
| High Resolution
|
|
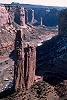
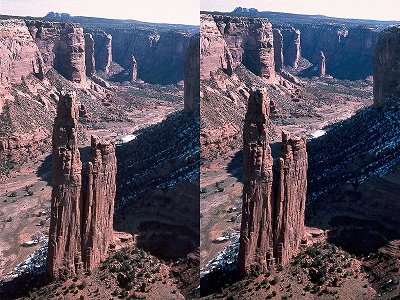
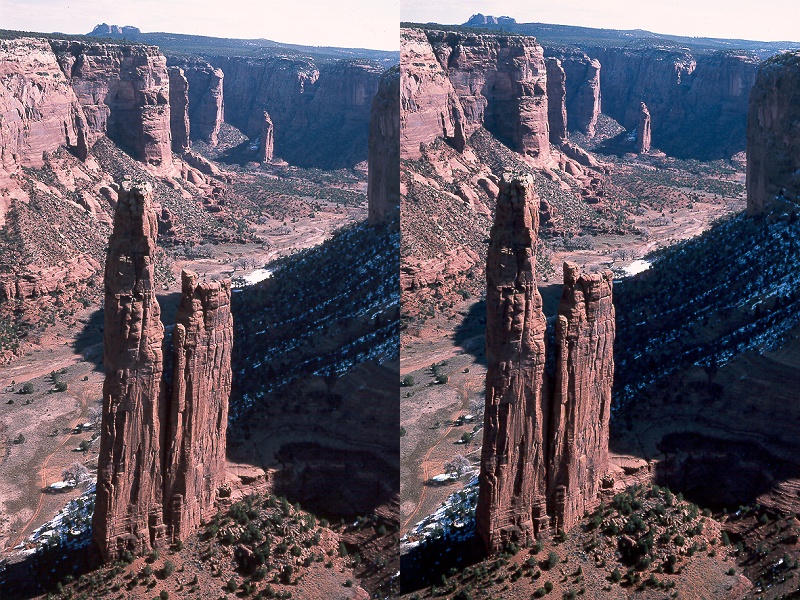
Erosional landforms
Photos by R. Pflug
|
|
99 kByte |

340 kByte |
|---|---|---|---|
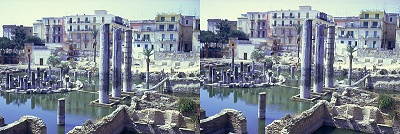
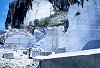
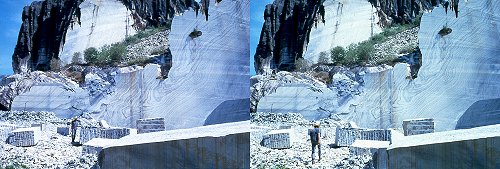
Temple of Serapis
Photos by R. Pflug
|
|

44 kByte |


150 kByte |
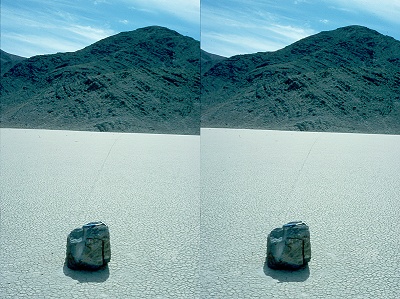
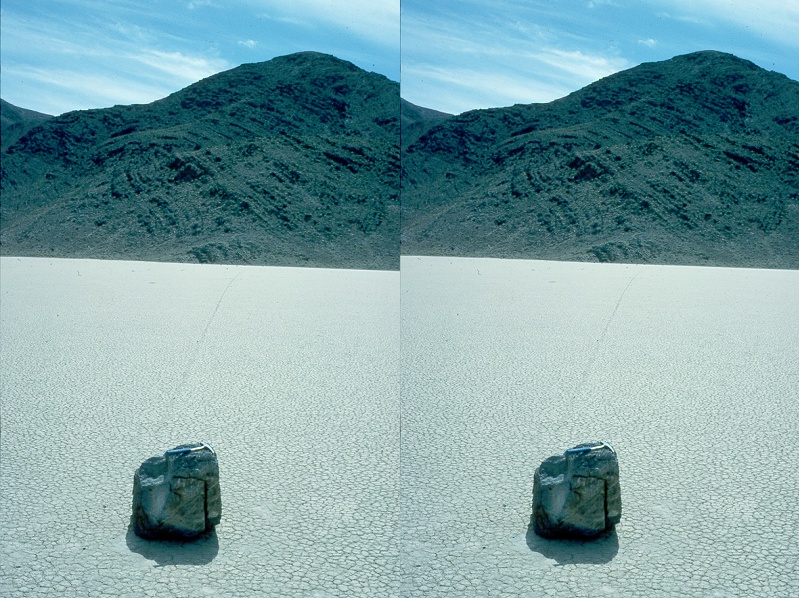
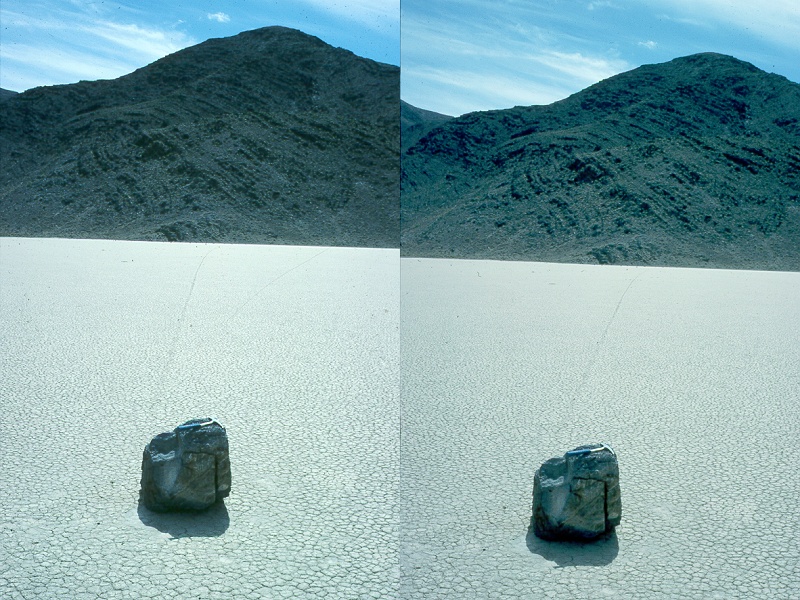
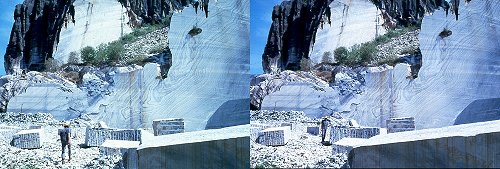
Windblown block
Photos by R. Pflug
|
|

70 kByte |
260 kByte |
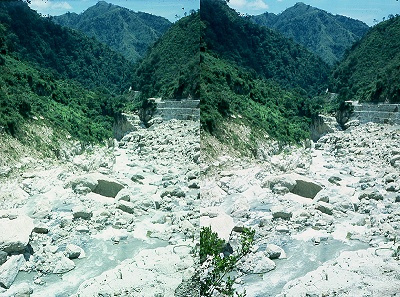
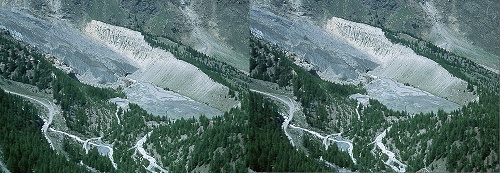
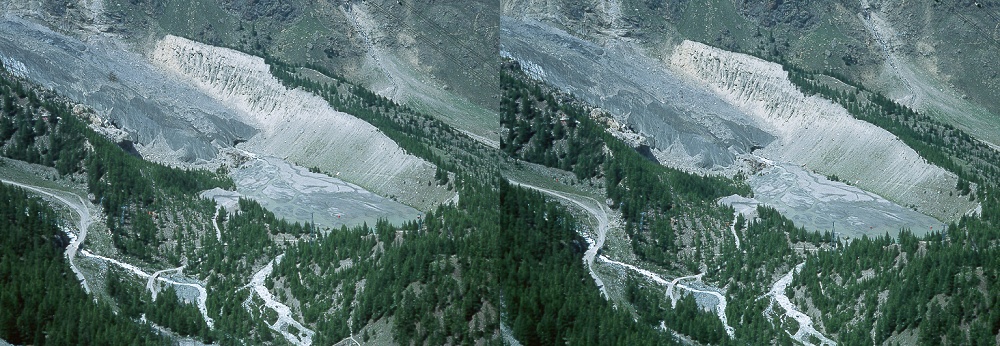
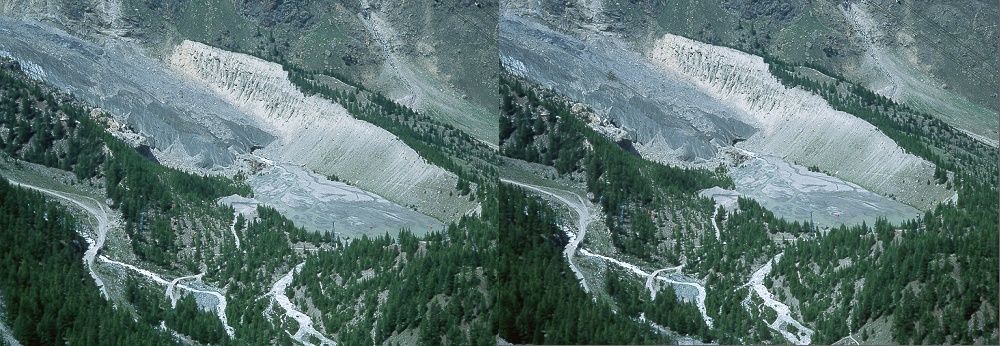
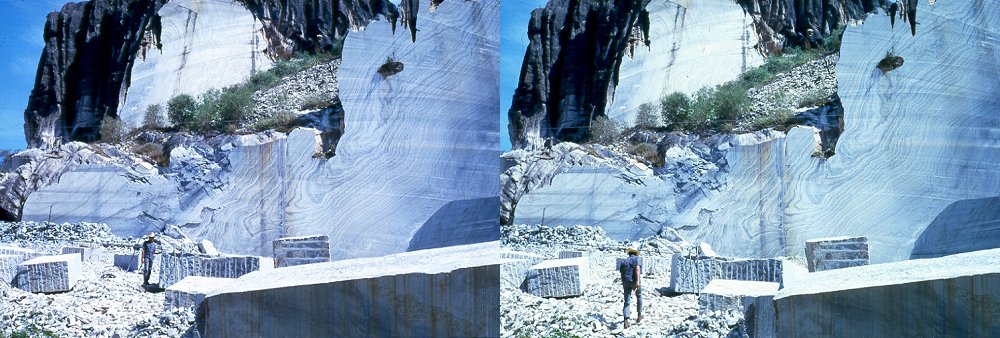
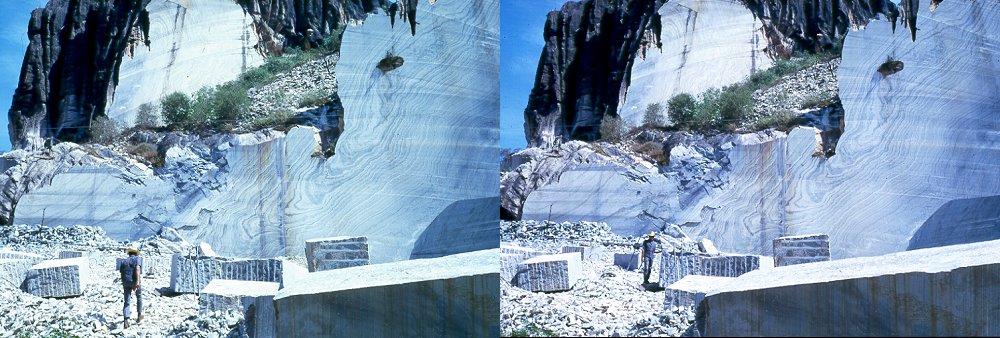
Rock slide
Photos by R. Pflug
|

|
95 kByte |


339 kByte |
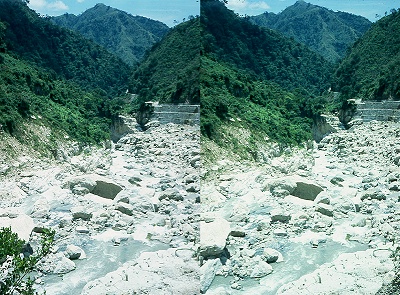
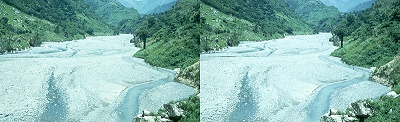
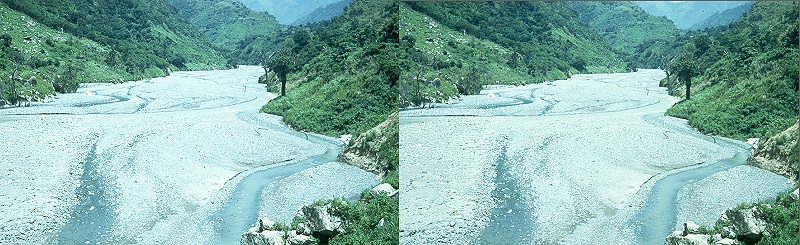
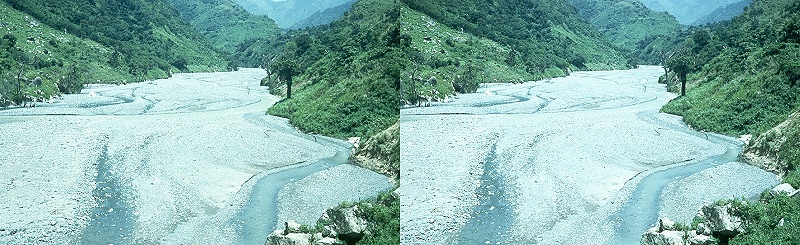
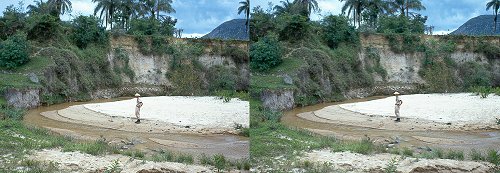
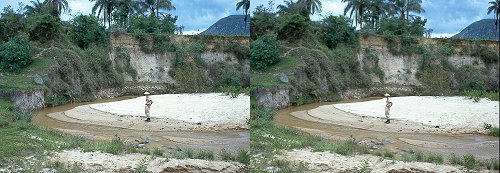
Recent alluvial deposition
Photos by R. Pflug
|
|
38 kByte |
158 kByte |
Glaciofluvial deposits
Photos by R. Pflug
|
|
48 kByte |
192 kByte |
Terminal moraine
Photos by R. Pflug
|

|

65 kByte |
233 kByte |
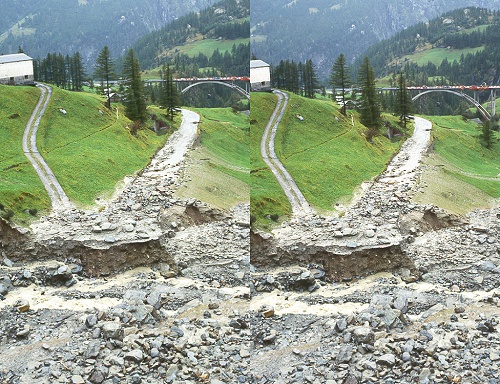
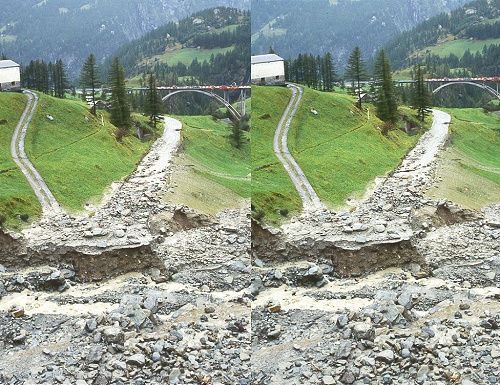
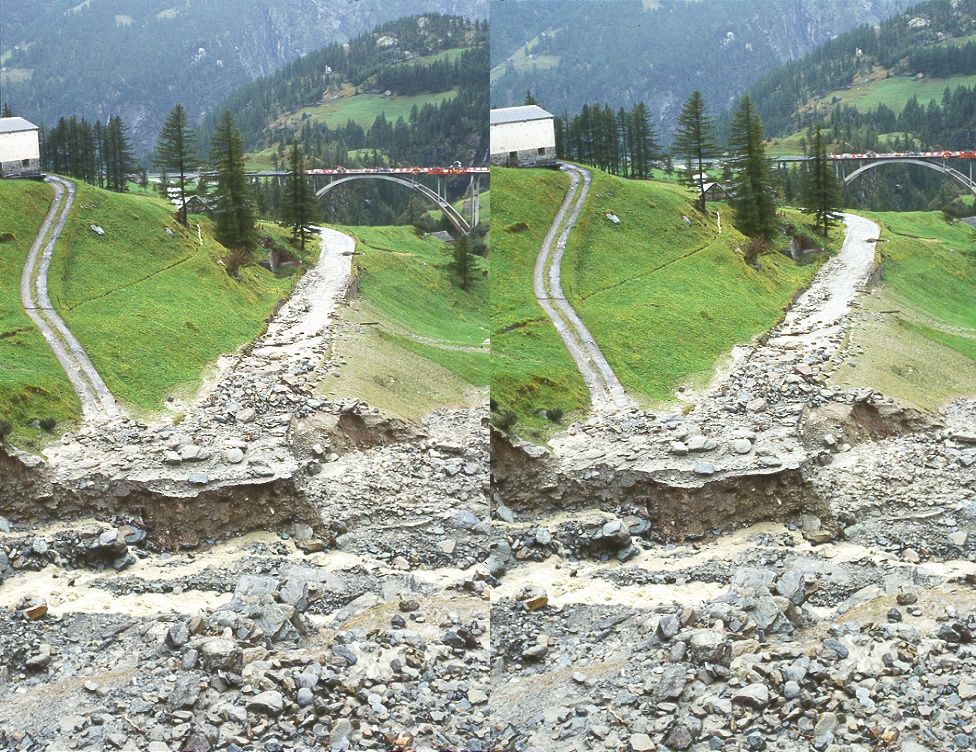
Destroyed Bridge
Photos by R. Pflug
|
|
152 kByte |

522 kByte |
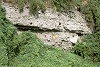
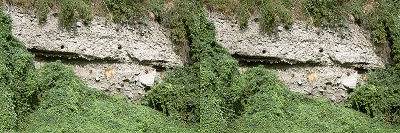
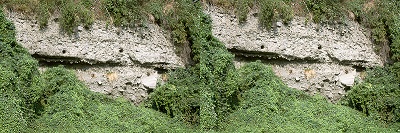
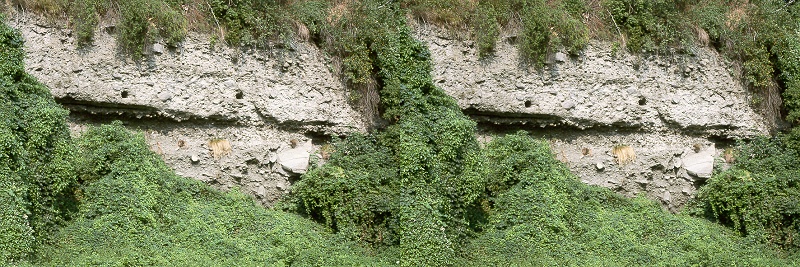
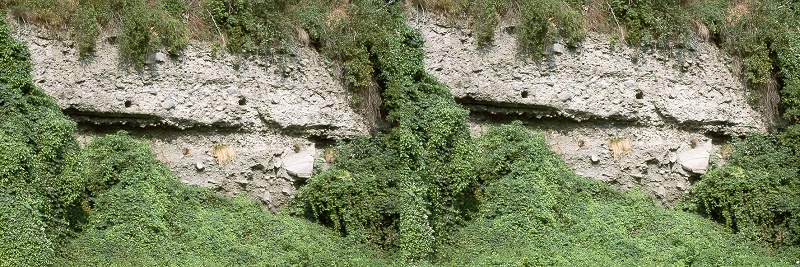
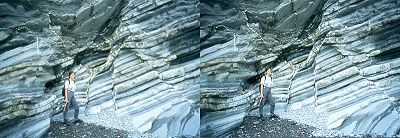
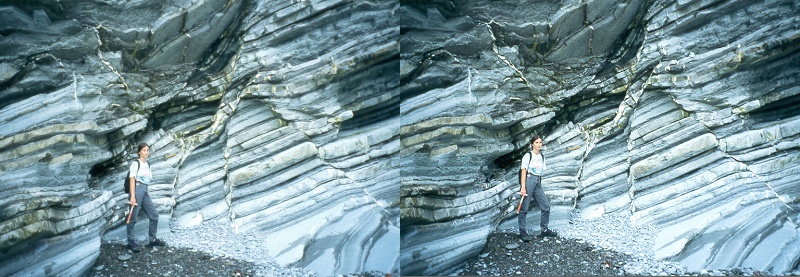
Creataceous Flysch Deposits
Photos by Ch. Lindenbeck
|

|

46 kByte |

155 kByte |
Bambui Outcrop
Photos by R. Pflug
|
|
40 kByte |
126 kByte |
Meandering river cuts
Photos by R. Pflug
|

|
38 kByte |


139 kByte |
| Location | Thumbnail | Low Resolution
|
High Resolution |
|---|---|---|---|
Anticline Structure
© Swiss Federal Office of Topography
|
|
90 kByte 400x320 |

130 kByte 600x470 |
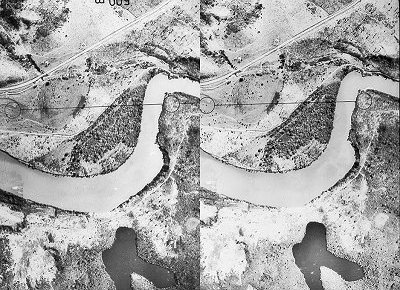
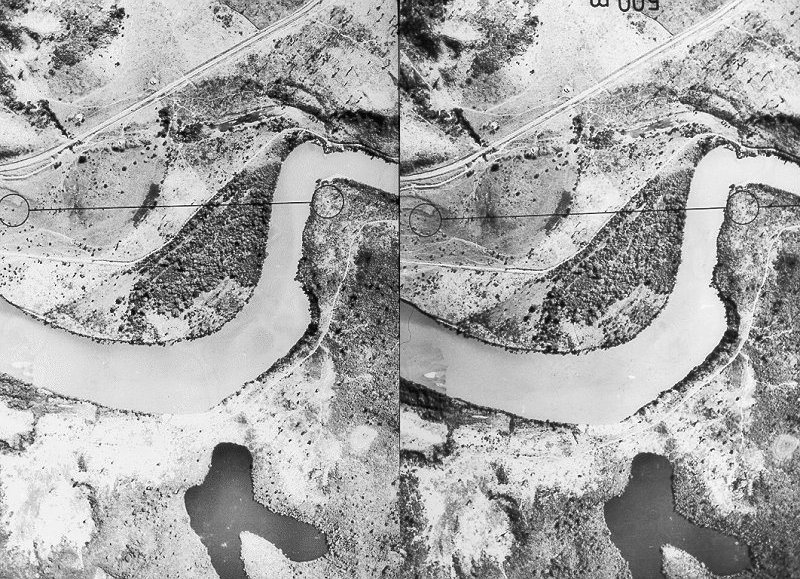
Dammed Valley Lake
(Pflug 1968, Pflug 1969)
|
|

57 kByte |

200 kByte |
| Location | Thumbnail | Low Resolution
|
High Resolution |
|---|---|---|---|
Silvermine Schauinsland
(Lindenbeck & Ulmer 1995)
|
|
29 kByte 400x250 |
41 kByte 680x420 |
Drury, S. A. (1987): Image Interpretation in Geology.- 243 p., Allen & Unwin (London).
Lindenbeck, Ch. & Ulmer, H.(1995): Entwicklung und Anwendung von Computerprogrammen zur Visualisierung geologischer Strukturen und Prozesse.- Freiburger geowissenschaftliche Beiträge, 9, XIV + 280 S.
Miller, V. C. & Miller, C. F. (1961): Photogeology.- 248 p., New York (McGraw-Hill).
Pflug, R. (1968): Quaternary lakes of eastern Brazil.- Photogrammetria, 24, p. 29-35.
--- (1969): Das Überschüttungsrelief des Rio Dôce, Brasilien.- Zeitschrift für Geomorphologie, N. F., 13, p. 141 - 162.
Stets, J. (1984): Geologie und Luftbild.- Clausthaler Tektonische Hefte, 21, 199 p.
![]()
Jump to the Homepage of Geological Institute, Freiburg (Germany)